|
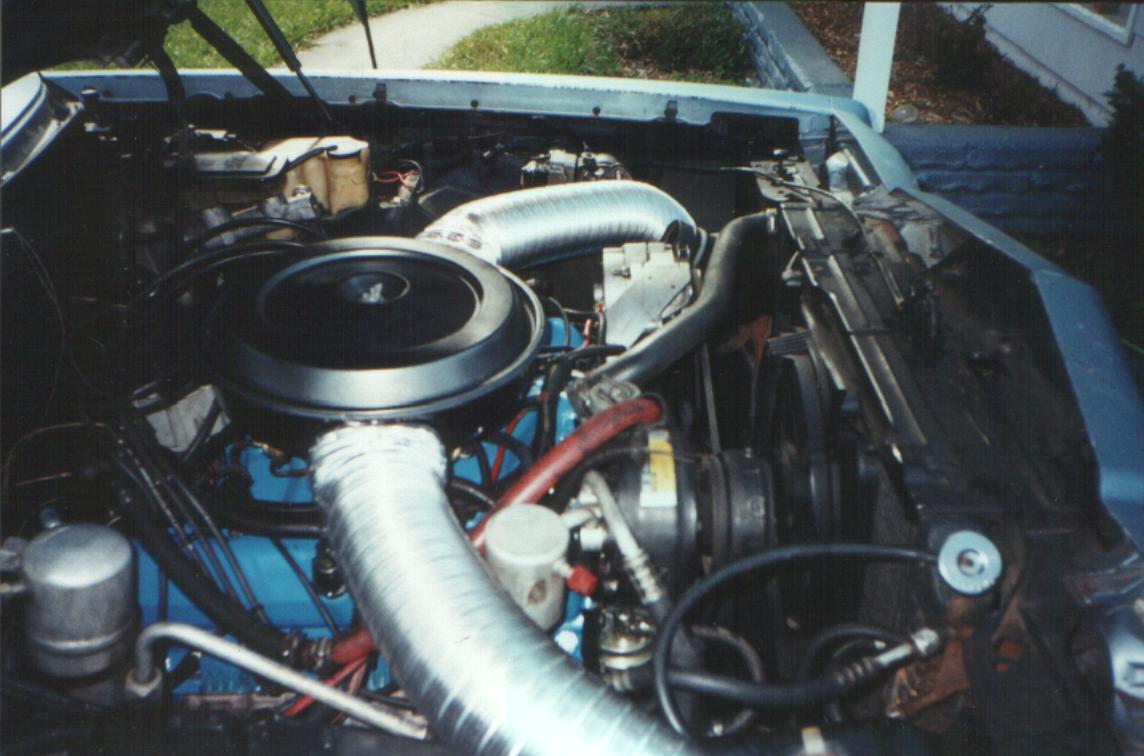
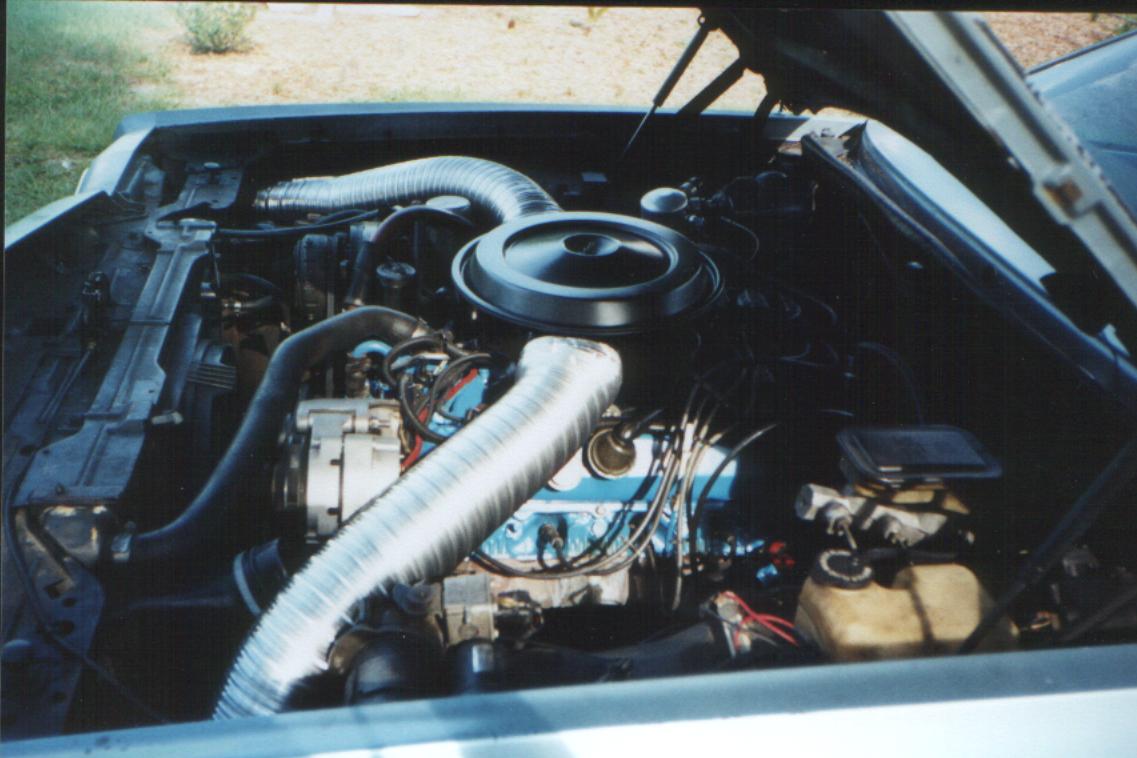
 You can build a cold air induction breather box that will out flow your stock box and pull cold air. You will
notice the power improvement! The picture above on the left is a dual snorkle breather box it costed 15 bucks total to build
and works wonderful, you can really hear the carb when going wide open. the picture above on the right is a single snorkle,
this one is easy to build cast about 15 bucks also and will show much improvement over a stock Vin Y breather box. Right now
I only have instructions on this site on building the single snorkle box but I will be putting up the dual snorkle instructions
as soon as I get some better pictures! Scroll down for instructions. You can build a cold air induction breather box that will out flow your stock box and pull cold air. You will
notice the power improvement! The picture above on the left is a dual snorkle breather box it costed 15 bucks total to build
and works wonderful, you can really hear the carb when going wide open. the picture above on the right is a single snorkle,
this one is easy to build cast about 15 bucks also and will show much improvement over a stock Vin Y breather box. Right now
I only have instructions on this site on building the single snorkle box but I will be putting up the dual snorkle instructions
as soon as I get some better pictures! Scroll down for instructions.
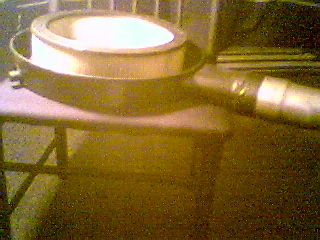
 To build the single snorkle box like
the one on the top right of this page follow the directions following. all it takes is your stock box (if
you do not have a Vin 9 dual snorkle), a 3 inch exhaust turndown pipe, some JB weld quick and some black flex tube that is
used to go from breathers to fresh air, you can find all this at the auto parts store, just make sure the flex tube is large
enough to fit over the turndown pipe. It makes more power because you cut off the restricted side of the stock boxes snorkle
and thermatic, that snorkle gets way to small on the end for a 4 barrel carb to pull enough air, it pulls cold air because
you hook some black flex hose from the turndown to the stock location right next to the radiator which pulls fresh air from
the front of the radiator. I painted mine metalic gray and clear coated the whole thing including the turndown so I have a
rust free finish. To build the single snorkle box like
the one on the top right of this page follow the directions following. all it takes is your stock box (if
you do not have a Vin 9 dual snorkle), a 3 inch exhaust turndown pipe, some JB weld quick and some black flex tube that is
used to go from breathers to fresh air, you can find all this at the auto parts store, just make sure the flex tube is large
enough to fit over the turndown pipe. It makes more power because you cut off the restricted side of the stock boxes snorkle
and thermatic, that snorkle gets way to small on the end for a 4 barrel carb to pull enough air, it pulls cold air because
you hook some black flex hose from the turndown to the stock location right next to the radiator which pulls fresh air from
the front of the radiator. I painted mine metalic gray and clear coated the whole thing including the turndown so I have a
rust free finish.
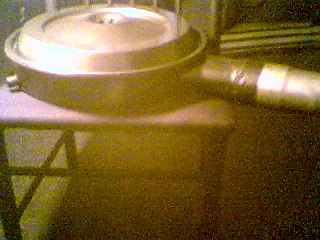
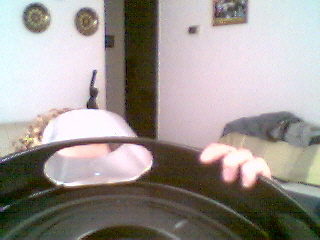
Notice where I cut the stock boxes snorkle, rounded out the opening with my hand and
used quick JB weld to hold the exhaust turndown while angling the turndown towards the driver's side of the radiator aimed
at the location that the stock flex tube original runs to next to the radiator.
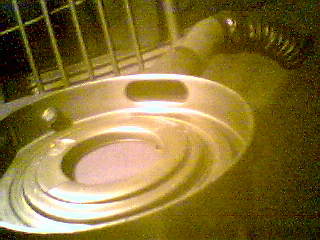
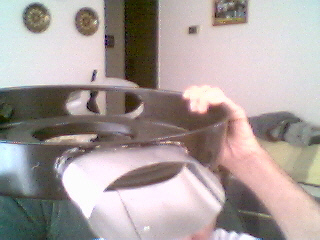
Notice how I removed the stock boxes air dam divider so that the air is directed right to
the filter, just make sure you rotate your filter weekly and replace if it is paper monthly for best performance.

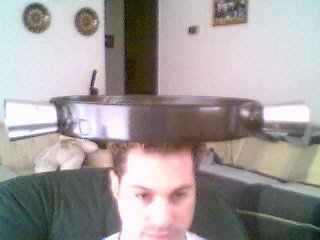
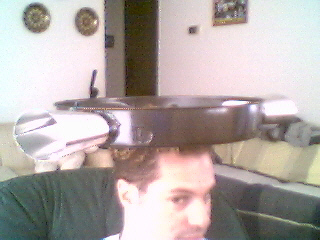
Make sure you use electrical tape or zip ties to hold the flex tube onto the turndown pipe
tightly and connect the flex tube to the location that the stock tube went to on the driver's side of the radiator or find
some other place as long as it's cold air and ENJOY!!!
Contact Me!
Now to build a dual snorkle like the Now to build a dual snorkle like the one on the top left of this page that will flow as good as a open element just follow the directions below. First you will need to visit "Home
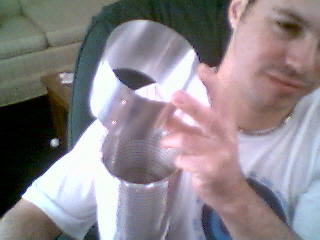
Depot" or any other houseware store, you will need to purchase one 4" Inches by 8' feet ducting, a set of tubes of "JB
weld quick" (you know the stuff that drys in like 5 minutes not the JB weld that takes 24 hours) and two ducting collars.
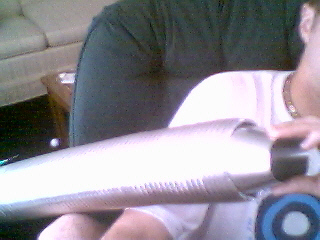
Look at the pictures below for examples of what they look like!
| Collar is on top and ducting is on bottom |
|
| Notice the collar can be flexed into a oval |
|
|